Mini painting
What’s on my painting table: September hobby update
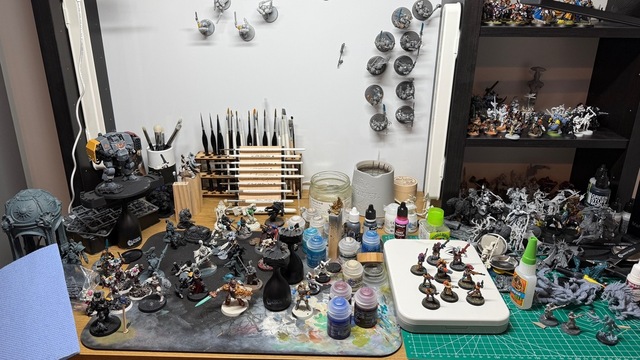
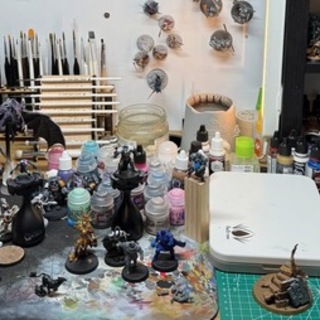
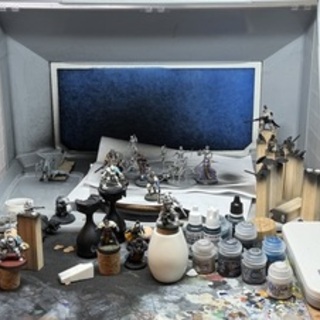
My painting table is generally a confusion of mismatched, incomplete miniatures and recent weeks have been no different. I only get short snippets of time for painting and I try to go with whatever enthuses me in the moment, although that does lead to quite a lack of consistency in output.
As a bout of Covid (thankfully not too bad) has tailed off over the past few days, I’ve had a little burst of activity as I haven’t been able to leave the house. Hence the ‘Knight Arcanum Catcher’ conversion a few days ago, and some progress on a few Necromunda minis.
In vaguely chronological (but largely random) order, here’s what I’ve been up to:
In this page:
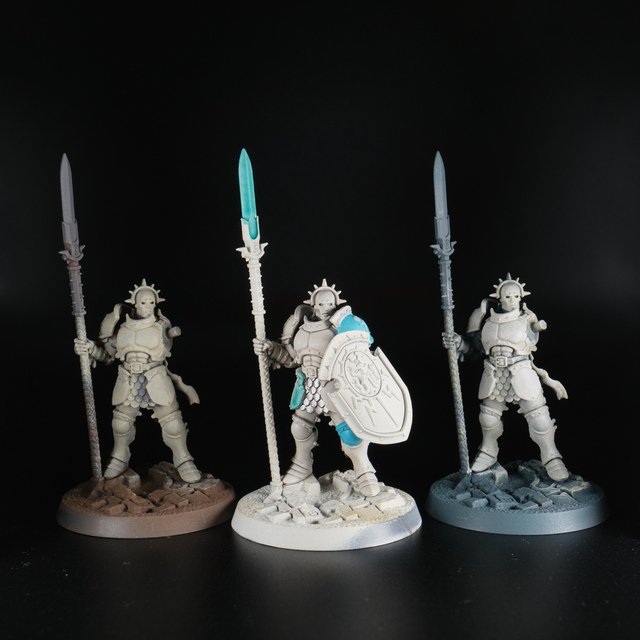
Light-coloured armour tests
For some time, I’ve been trying to get to a good paint recipe for an almost-pearlescent off-white armour colour. I’m aiming for an ivory-ish feel, but with a metallic sheen. Having tried various pearl white paints, they’re all a bit too metallic/pearlescent over large areas. The closest I’ve got with even vague consistency is a mix of Canoptek Alloy and Corax White, although it still flattens out a bit too much for what I’m after.
Anyway, more on that quest in a separate post sometime. The point is I’ve been interested in bright off-white armour shades and while browsing ebay, I came across a Grey Knight army being sold that had been painted up in a really cool scheme of a super-flat off-white with baby blue accents.
I instantly wanted to reproduce something similar, so I set about running some tests with different undercoats, base colours and shades. Unsurprisingly, the closest I’ve come is the obvious choice of priming with Wraithbone spray and then recess shading, though I’ve gone a bit too safe on the choice of shade so far — Soulblight Grey or Seraphim Sepia — and can see I need to use something a bit stronger in places. The base colour may even need to be a shade darker than Wraithbone. Hmm…
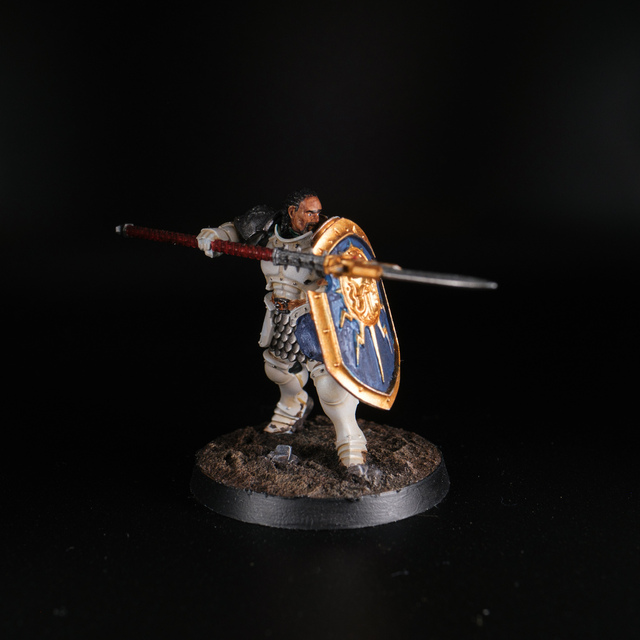
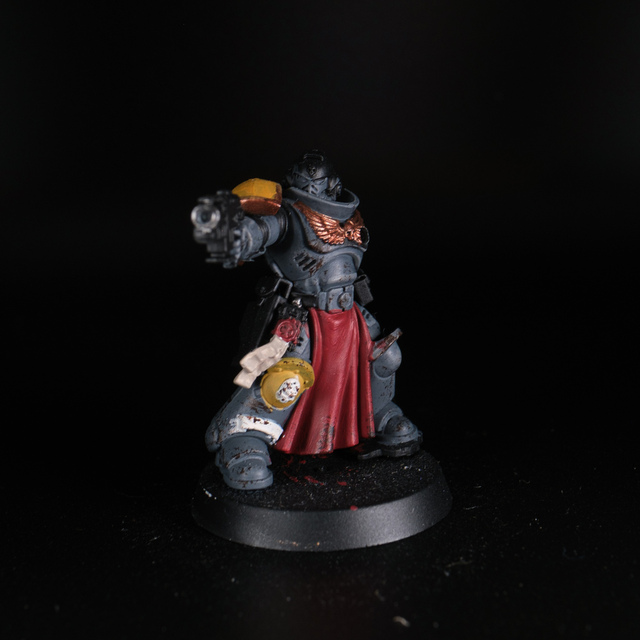
Adeptus Custodes
In amongst that experimentation, I decided to start playing with light-themed Adeptus Custodes. With a Custodian Guard primed in Wraithbone and without much plan, I started playing around to see where I’d land.
I decided to use Balthazar Gold — more of a copper tone — as a metallic accent inspired by using it all over for Valius’ armour, which contrasts really nicely with the warm off-white. I used it in far too many places for the more minimal vibe I’d originally intended though.
I also picked out some details with Retributor Armour — more of a ‘proper’ gold colour — which unfortunately clashes with Balthazar Gold, although I haven’t brought myself to repaint it yet. That slight awkwardness has left it sitting on the table for a while now and I need to just finish it and move on.
Next time round, I’ll try for one with more consistent use of Balthazar Gold, and also a much more minimal, mostly-white version too, to see which I prefer.
Space Wolves
When I first collected Warhammer back in the ’90s, Space Wolves were my main focus. Since starting up again this year, I found a lack of enthusiasm for 40K in general and was way more interested by the Age of Sigmar style.
Which surprised me, as I had zero interest in Warhammer Fantasy Battle as a teenager.
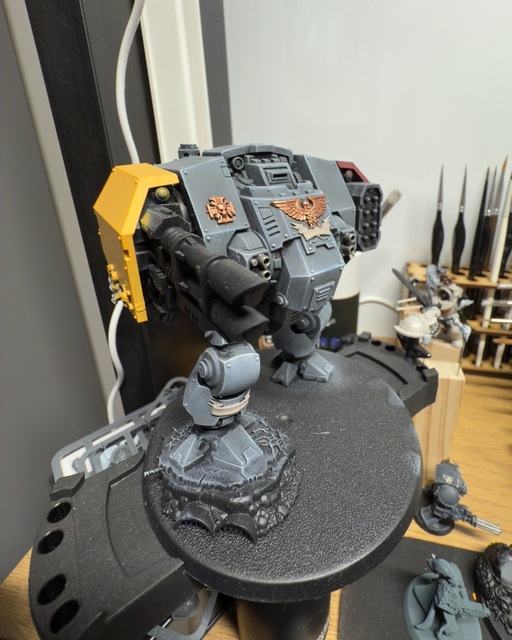
Over the past few months though, the 40K bug started to bite again and when I came across a copy of the Leviathan set still on the shelf in one of my local hobby stores, I bought it. I’ve made very little progress with any of the minis yet, although I’ve got furthest with the Ballistus dreadnought which has most of the base armour colours down and now needs a whole lot of detail adding.
Reconstructive surgery
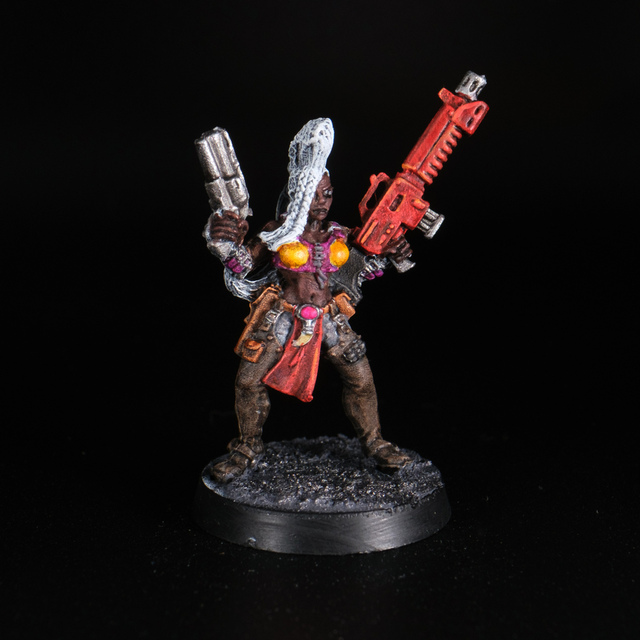
I also picked up a bunch of Adepta Sororitas minis from ebay as there are some great miniatures in that range. I’m not a huge fan of the standard black warrior-nun colour schemes but am quite keen on also trying an off-white vibe for them too. I have vague notions of an off-white/pale-blue combo theme running through a few different Imperium forces to tie them together but we’ll see.
Besides the newer plastic models, I also got a handful of old metal Sisters of Battle minis: 4 Seraphim and a Sister Superior. They had already been painted quite roughly and while the Seraphim looked like I could just build on top of what was there, the Sister Superior mini needed the paint stripping and starting again.

The painted mini was lumpy and unusable but somewhat horrifyingly it got worse with the paint stripped off: it turns out a previous owner had bizarrely decided to chop the breasts off the original mini and then created new (bigger??) ones with a mix of green stuff and two round bits of metal.
All rather crude, but now I had a mutilated mini and would have to do something similar myself in order to recover it.
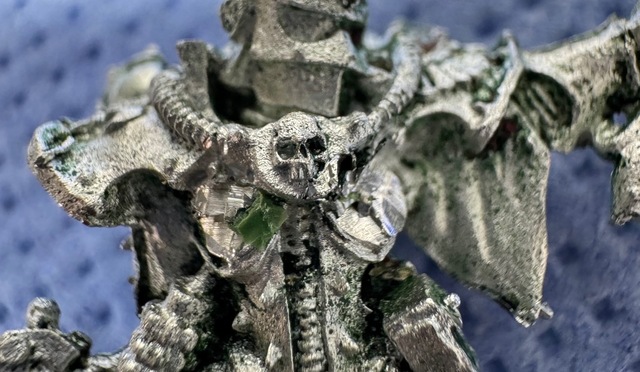
My green stuff skills are by no means strong, so I relied on applying drops of liquid green stuff repeatedly and letting a combination of gravity and surface tension create roughly the right shape, which was surprisingly effective if not-exactly seamless.
With the paint off, I also realised the waist-pendant-thing (skull jewellery hanging from the waist) had also been cut away. There was no way I was recreating that complex a shape, so I’ve decided to see how well I can hide it in painting.
The mini had also had its ‘slotta’ removed, so I decided rebasing onto something a bit more heroic might also help distract from some of the sculpting issues. I dug out a spare 40mm base and some basing rocks from Green Stuff World that I’d been looking for an excuse to use, and think this pose works pretty nicely now:
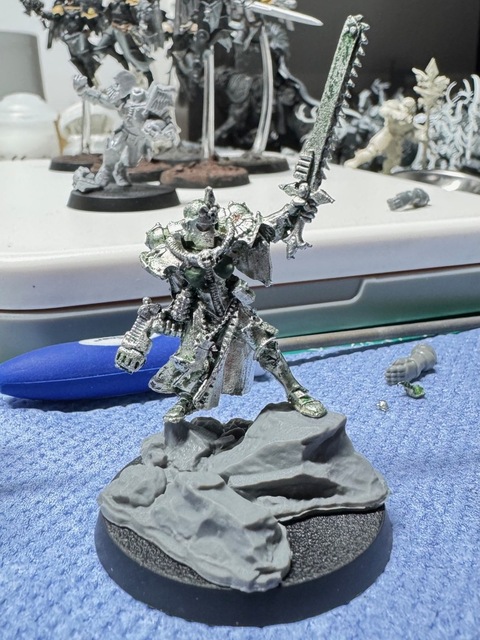
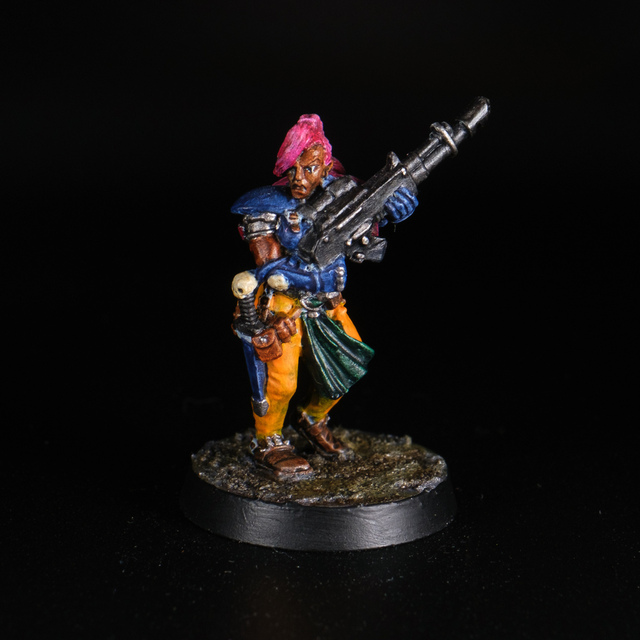
This is another one I have started painting and then stalled on, but I’m hoping I can make something decent of it. Here’s the work-in-progress so far:

I’m not sold on the deep red for the cloth, so may go back and choose something different there when I get round to it.
Stop starting things and finish something, Adam!
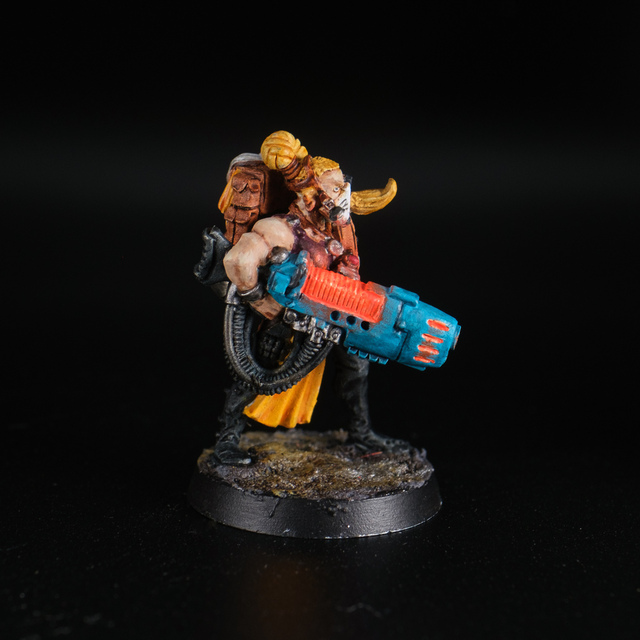
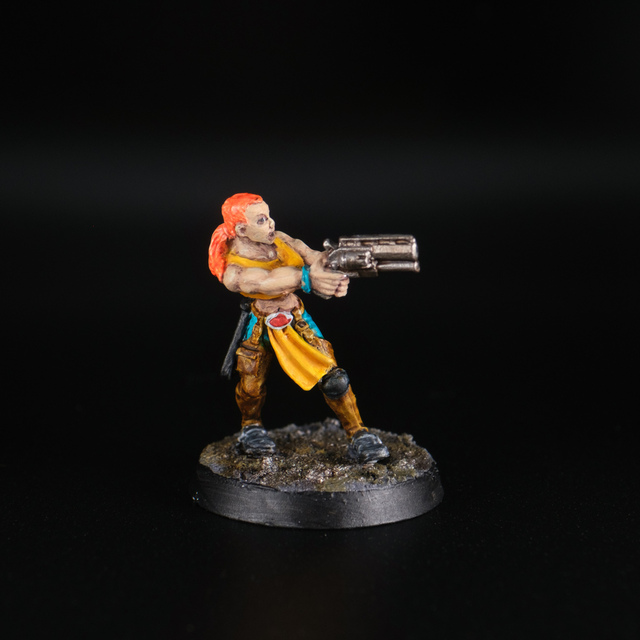
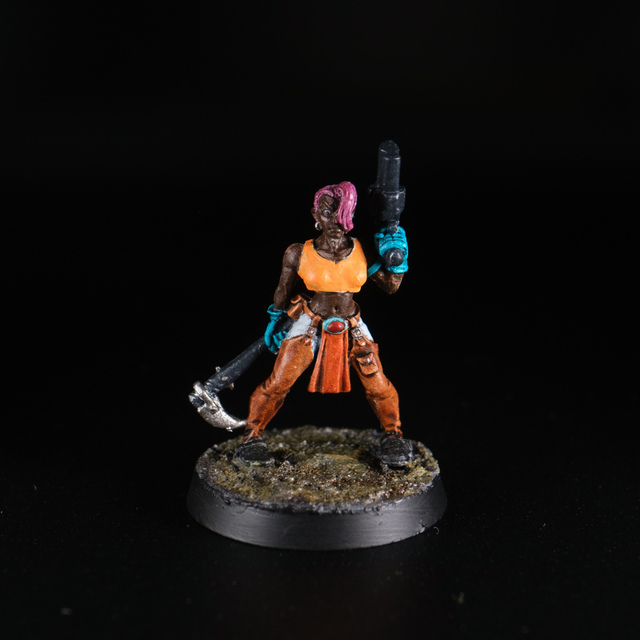
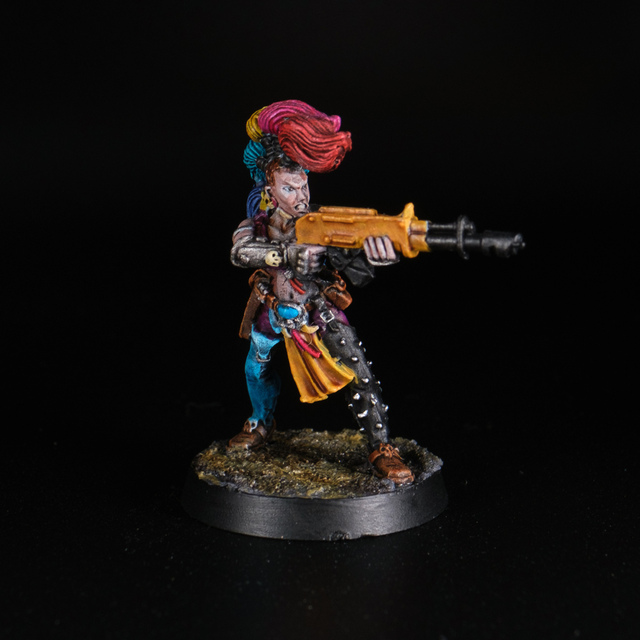
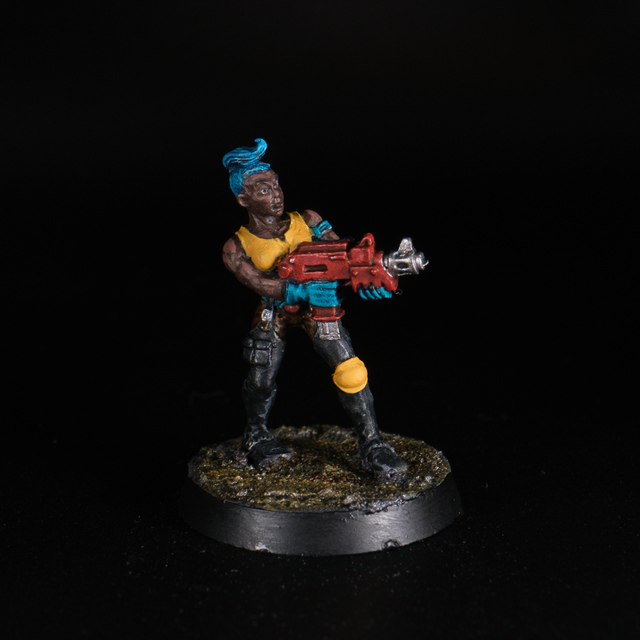
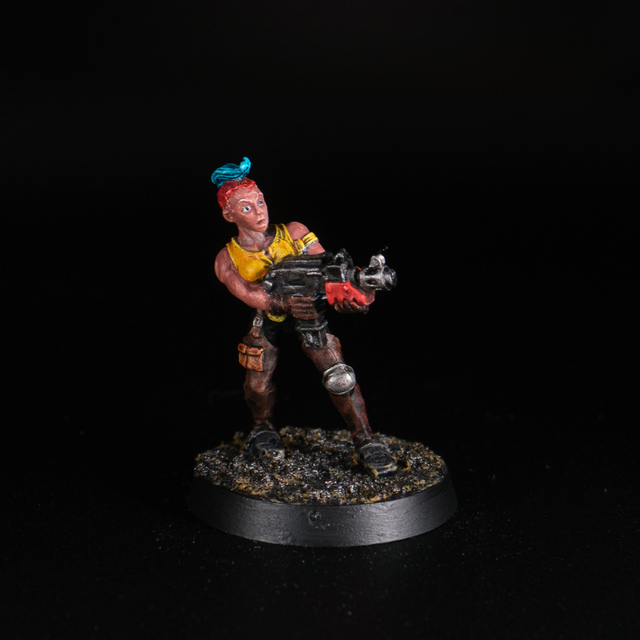
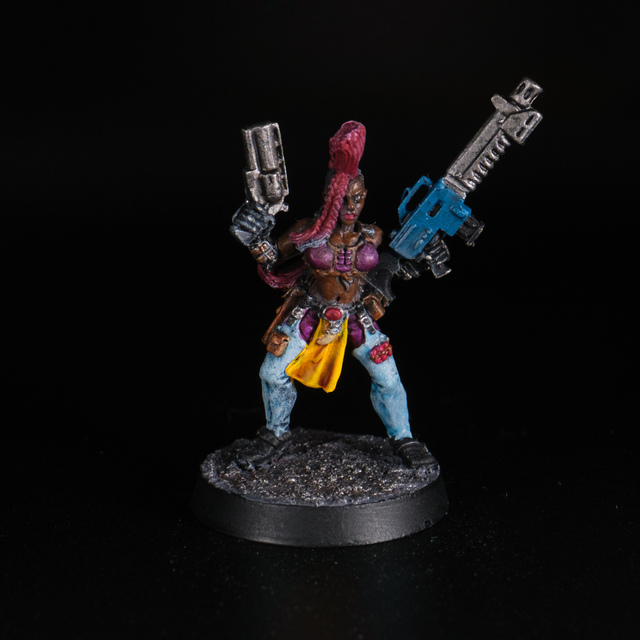
There’s a strong theme of starting and not finishing things here, but I did have a little productivity spurt towards the end of the month and worked through a few classic Escher minis for Necromunda.
A couple of months ago I had done a first pass painting 4 original 1995-era metal Escher gangers. Over a few days, I painted up 4 more juves and a heavy with heavy plasma gun, as well as tidying up the basing on the previous 4.
None of these is display quality but I’ve enjoyed painting them and as I’ve done more have got in something of a rhythm. It’s been nice to finally work through more than one or two of the same theme and now have a reasonably consistent set of nine tabletop-ready.
There are details I’d still improve on all of them, not least adding a bit more ‘glow’ to the plasma, but they’re good for now. It was fun to try out one of the Vallejo neon paints I’d bought - used for the plasma and also, regrettably-in-hindsight, on the hair for one of the Jules (which I then tried to mellow down a bit with a wash of Gryph-Hound Orange over the top).
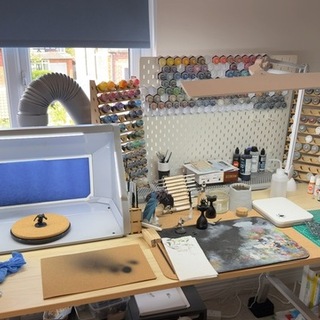
Lighting setup
Finally, as you may spot from a number of the photos here, I upgraded my lighting setup for taking pictures of my miniatures. I had bought a cheap light box a while ago, which was OK but with an overhead light source and small space, it always lit too much of the backdrop; especially at the curve in the corner which would be right behind small items in the image (like individual miniatures).
Not needing much at all by way of actual lighting power for such small subjects, I decided to order a couple of cheap (£20) LED video lights (affiliate link: I might make a couple of pennies if you decide to buy) from Amazon.
They’ve done just the job: I can now light from the sides, choose whether I want additional overhead light from the light box ring light, and control the background with some bits of black card to act as light blockers.
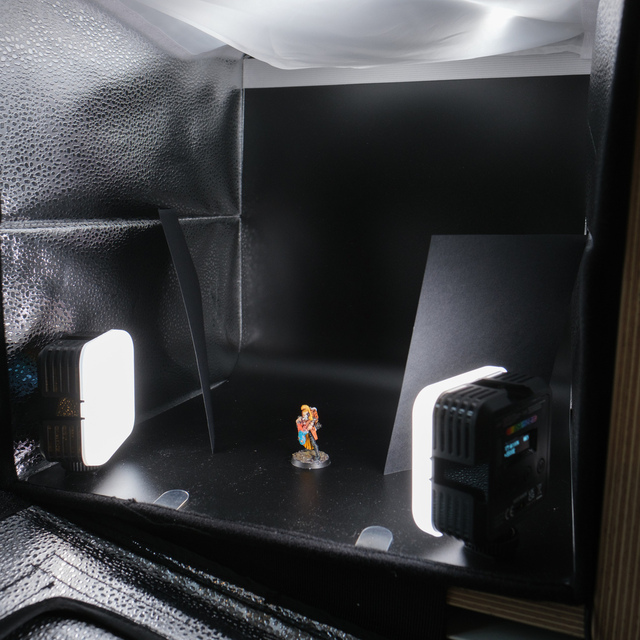
The lighting is even a bit much at the moment, so I’ll spend time at some point dialling down the power and finding a nicer balance of lighting effect.
On to October!