Mini painting
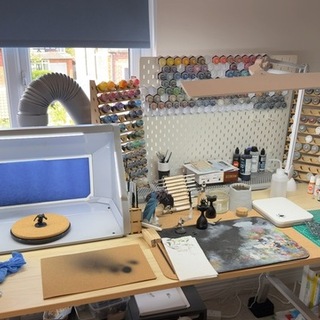
Painting table update: December 2025
As the end of the year approaches, can I finish some more miniatures?
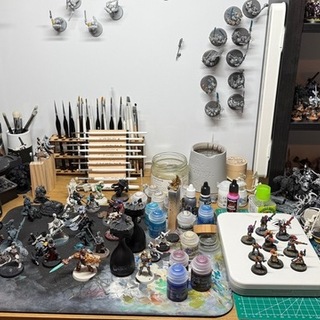
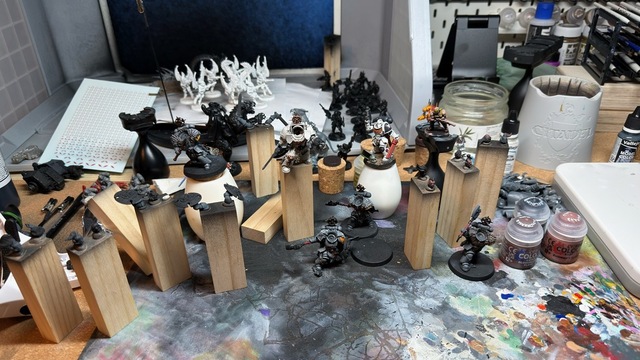
The past month has been quite pleasingly productive, at least compared to my usual output. I finished two Red Gobbo minis; went back and finished some details on my custom Wolf Guard battle leader; Figured out a colour scheme direction for my ‘light colour’ space marine and have just come back to the Wolf Guard Headtakers I started months ago.
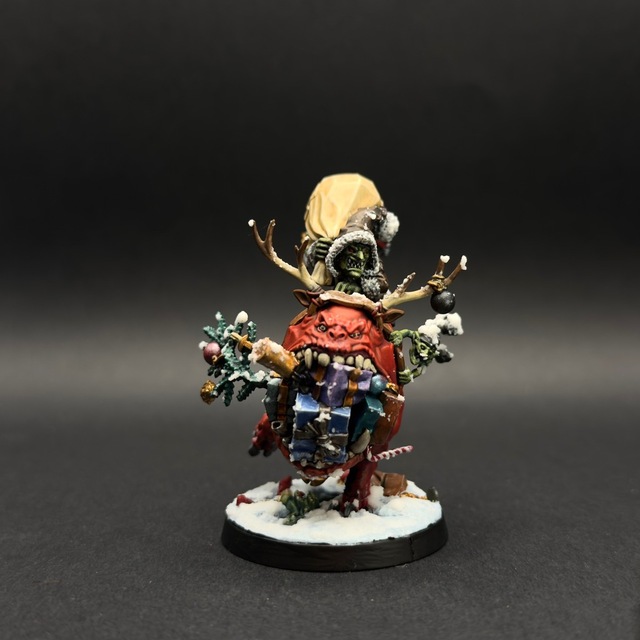
Da Red Gobbo
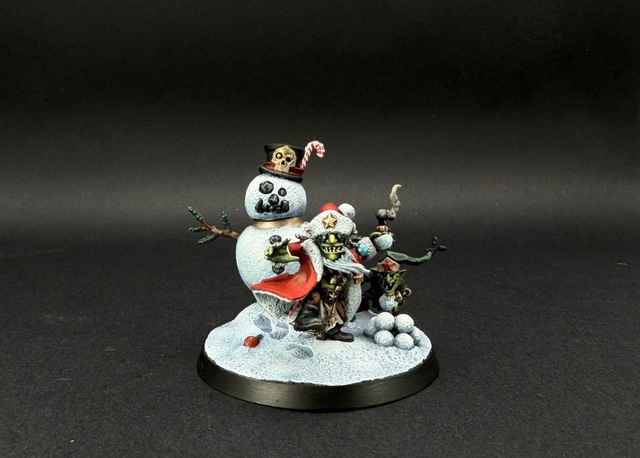
Having just written a separate post on them, I won’t go into detail here, but I’m really happy with the two Red Gobbo minis I painted over the past month: Da Red Gobbo’s A-Bomb-Inable Snowman and the Grotmas Gitz.
Wolfspear marine
Earlier in the year, I picked up a squad of assault intercessors on ebay that had already been built with Mk VI helmets and primed a dark green. I’ve always loved the ‘beaky’ helmets and these looked really cool but I continually went back and forth on what scheme to paint them up in. I think their original owner had intended them as Raven Guard.
For some reason, a running theme since I got back into painting nearly two years ago has been a leaning towards finding good off-white colour schemes. Last year I tried to make a slightly-metallic warm-off-white scheme for the Stormcast Eternals and I’ve also played with a pale scheme for Grey Knights.
Eventually having got close to something I liked with the Grey Knight test paint, I decided to use the same basic recipe for one of the assault intercessors. With a nice pale overall armour, I then hit decision paralysis on which chapter to make it.
As a longtime Space Wolves fan, the Wolfspear have appealed for a while although I always assumed they needed to be more of a neutral light grey. With the release of the Dead Silent Kill Team box though, an article on Warhammer Community showed a couple of schemes painted up as Wolfspear that looked more of a warm light grey and I decided to try turning this into a Wolfspear scheme. It’s not finished yet, but I do like it!

One major issue with Wolfspear is the lack of chapter insignia availaibility. Some transfers were included in an issue of White Dwarf a while back but they of course sell for silly money these days.
I had had a seller on Etsy bookmarked for an order — ImpatientTabletop — having heard good things, but their Etsy store has been taken down and their own website no longer has the direct equivalent icons anymore.
In the end I found an ebay seller who had good ratings, decent pricing and seemed to be printing proper white transfers for going on dark backgrounds and decided to give them a go.
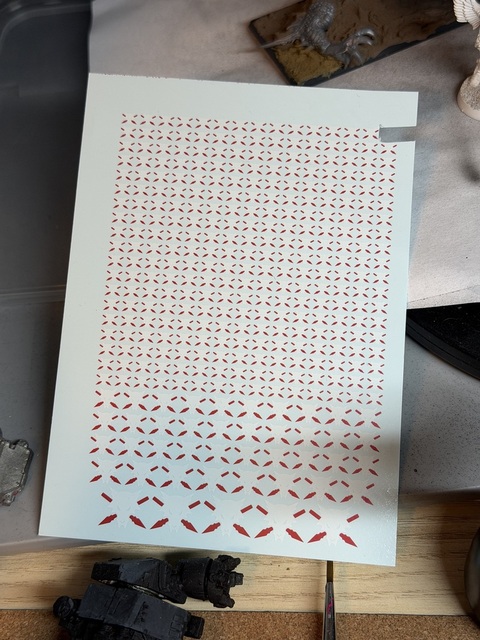
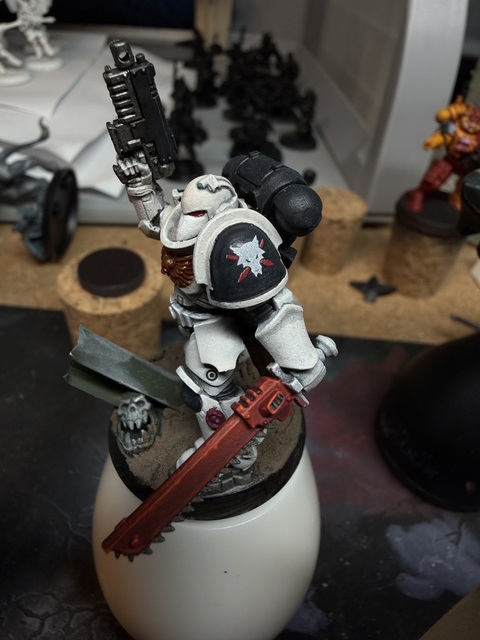
The sheet came super tightly packed with the Wolfspear logo repeated, mostly in smaller size for pauldrons and a few larger ones. I applied one to this test mini using Micro-Set and Micro-Sol, which worked as it should. Once that was dry, I went over the whole area with a coat of Citadel Stormshield matt varnish.
You’ll notice a tiny printing offset with the red spears, so a sliver of white shows on the left side of each shape but in person you have to look pretty close to notice it. As I work on this mini more I may try painting out the white offsets but I’m not overly worried about them.
Wolf Guard battle leader in terminator armour
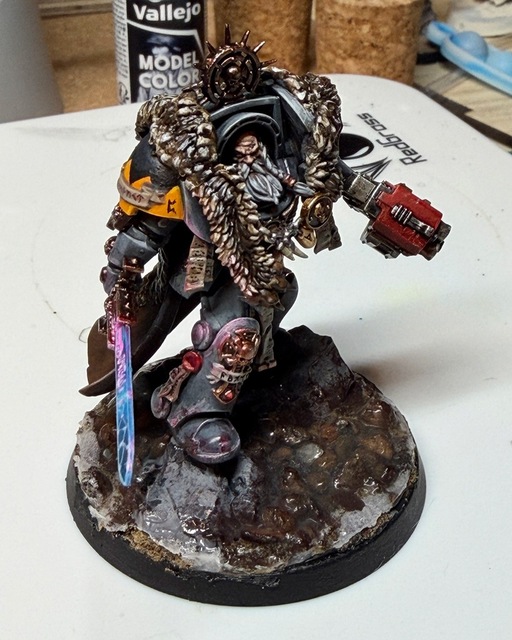
Getting back in a wolfy mood, I had noticed the kitbashed Wolf Guard battle leader in terminator armour that I mostly finished in August, standing in my display cabinet. I didn’t ever finish the details like the pack marking on his shoulder or the various scrolls, so I brought him back out and spent a quick bit of time adding those details in.
I also realised I hadn’t painted either of his weapons.
At the time, I’d struggled for motivation with the weapons and just ignored them, so I decided to rectify that too. Much as I find processing my photography, sometimes it needs a bit of distance (in time) to reassess and figure out the way forward and that was the case here too.
I decided to go for an old-fashioned red storm bolter and then tackled the more daunting power sword. In April I had a first attempt at painting a power weapon with the huge axe on my kitbashed wolf lord and being a little impatient at this point just started roughly applying the same technique again but with blues.
Having not really planned it through, things got a little messy towards the end but I’m treating it as good enough for now and can go back again at a later date to improve things further.
Wolf Guard Headtakers
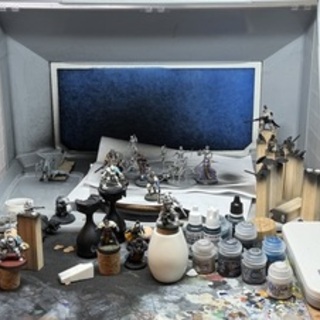
Attempting to keep momentum, I turned my attention to the Wolf Guard Headtakers that had sat untouched on my painting table for months. I showed early progress on them back in my July painting table update but had never gone any further than that since.

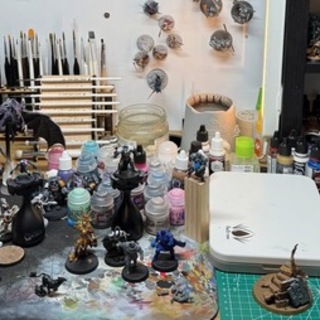
Building on the dark bronze I used on the terminator, I put down a layer of Warplock Bronze to aquilas and other metal details on the three Headtaker models which works nicely against the darker grey armour I’ve gone for with my Primaris Space Wolves.
For the figure with no aquila I decided to paint the whole main chest piece in bronze which actually looks really nice and so I’m considering doing the same for the battle leader. It doesn’t show well in the photo above, but the Warplock Bronze catches the light really nicely in a larger block like this.
I had kept the heads and left arms separate for easier painting, all tacked to wooden blocks, so I pulled those back out from the small bucket shelf they’d been stored in. I hadn’t based the arms, so added a quick layer of Vallejo Dark Sea Green to match the base of the bodies. Then I decided to start painting some faces and got base layers and first simple highlights on 3–4 heads.
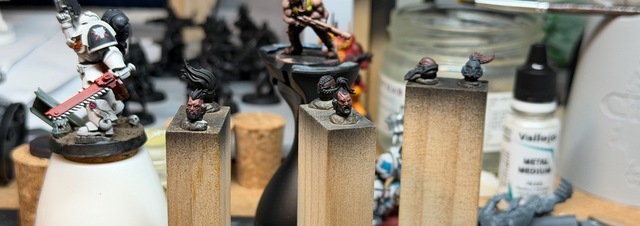
Since then I’ve unfortunately been busy and not managed to get any further, but at least I’ve made some progress after around 5 months of them sitting at the back of my painting table looking accusingly at me.