Mini painting
Painting table update: August 2025
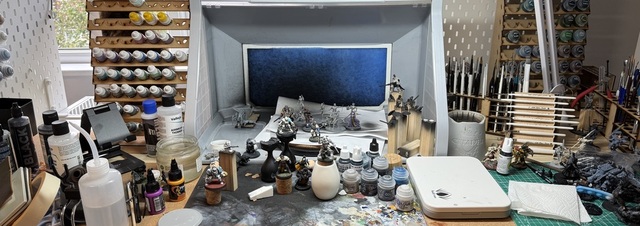
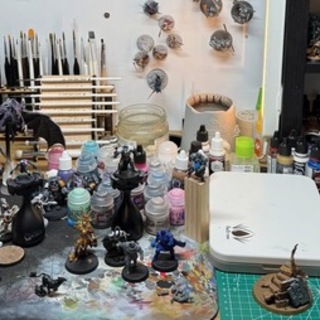
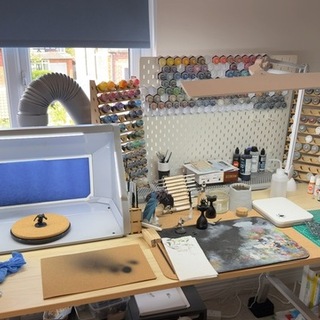
Over the past 6 weeks, I’ve made more progress setting up my new hobby area by 3D printing some paint racks and more recently had a little burst of activity in actually painting some models.
Continued progress?
In my last update I had started on some of the new Space Wolves, made good progress on my first Howling Griffon, begun kitbashing a female Space Wolf from a Stormcast Lord-Veritant, picked back up on my Varag Ghoul-chewer mini and begun to dabble with an airbrush.
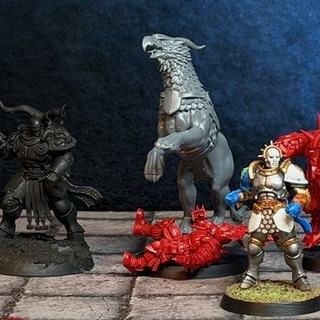
The new wolves have unfortunately not progressed much further at all, although that's because I got inspired by them and focused on both the female marine kitbash and a first attempt with green stuff. The Howling Griffon captain got finished off and I added a few more details on Varag before setting him to one side again.
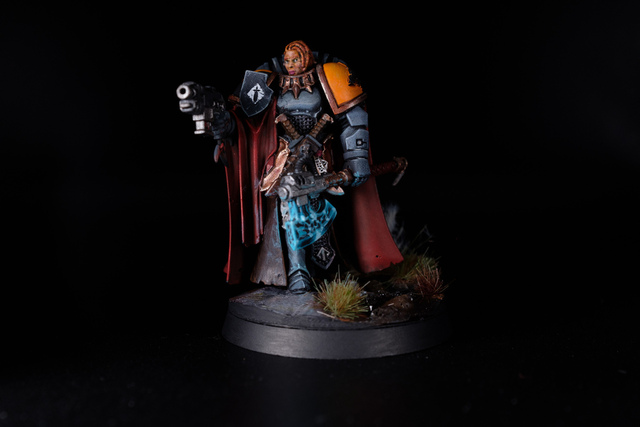
Kitbashed female Space Wolf
This is one I’ve made a lot of progress on over the past week and is now at tabletop standard, albeit missing a few details.
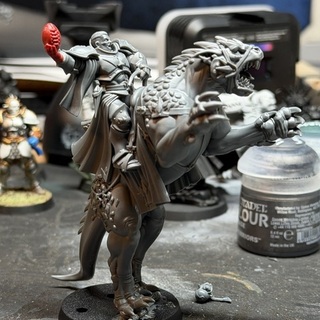
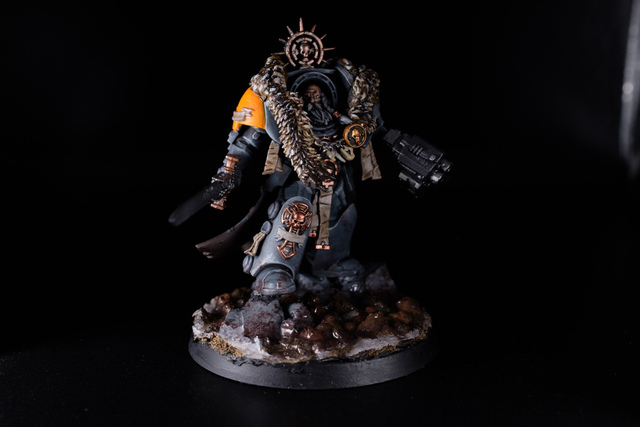
Wolf Guard battle leader in terminator armour
With that attempt at green stuff (linked above), I carried on painting up the wolfy terminator captain. Like the female kitbash, it’s in that annoying mostly-there-so-hard-to-get-motivated-to-finish state. Tabletop ready and perhaps on its way to display quality (for me).
Water effect bases
For a while I’ve been wanting to try out a water effect and having set up the terminator battle leader standing astride some rocks, with smaller pebbles in-between, it felt like a good one try creating the effect of a stream running through.
I had bought a bottle of water effect gel from Vallejo, so I gave that a go. Having already glued the model to the base, I was a little stuck for a way to prevent the gel from running off before it set, but the 3D printer came in handy again…
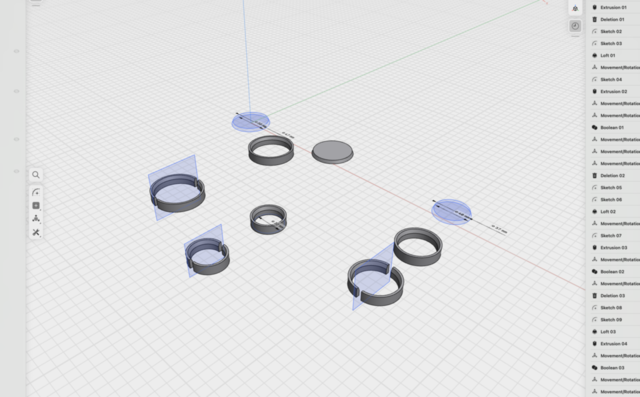
I quickly designed a collar — in a single piece for bases without a mini on top blocking it, and versions split in half for wrapping around the base of a model that would otherwise get in the way — and tried the effect on both the terminator captain and the female Wolf Guard kitbash. I made a few mistakes with the terminator as the first attempt but did a slightly better job with the Wolf Guard.
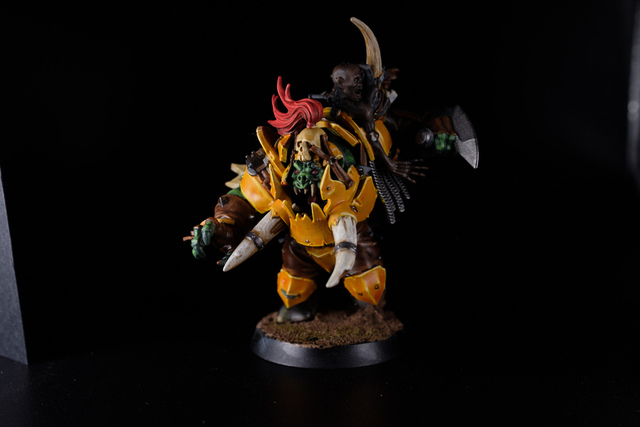
Varag Ghoul-Chewer
Not a huge amount of fresh work on Varag, but I moved him along a little bit before once again setting aside. I’m finding it hard to get enthused for some of the details on this model — in particular the victim impaled on the shoulder spike — and so it’s slow going with Varag.
New work
Or at least, newly-restarted since the last update…
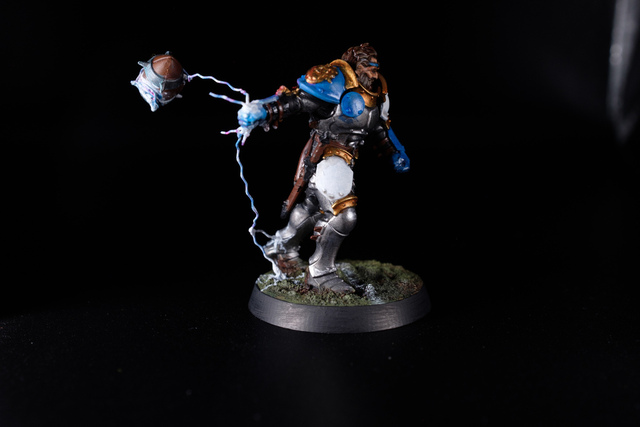
Liberator Lineman
I hadn’t made progress on my kitbashed Stormcast Blood Bowl team for a while, so I brought the unfinished models back onto my painting table and began to work on a Liberator lineman with a ‘lightning lasso’ launching a ball.
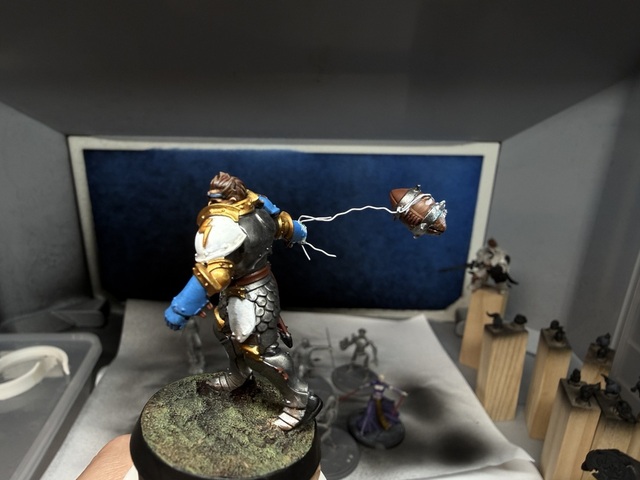
I had initially used a paperclip as the material for the lightning but the more I tried to get the paint effect right, the more it just felt too thick. Instead I eventually bought some thinner wire from Hobbycraft and even found some thin bullion wire on sale that already had a nice lightning-y zig-zag pattern.
I’ve since been slowly building the ‘lasso’ back up and figuring out how best to render the lightning effect, but the new wire is definitely working better so far.
(Not so) Grey Knight
About a year ago, I saw some Grey Knights for sale on ebay in what I thought was a really nice colour scheme: rather than the traditional silver, they were an off-white, with a baby blue accent colour.
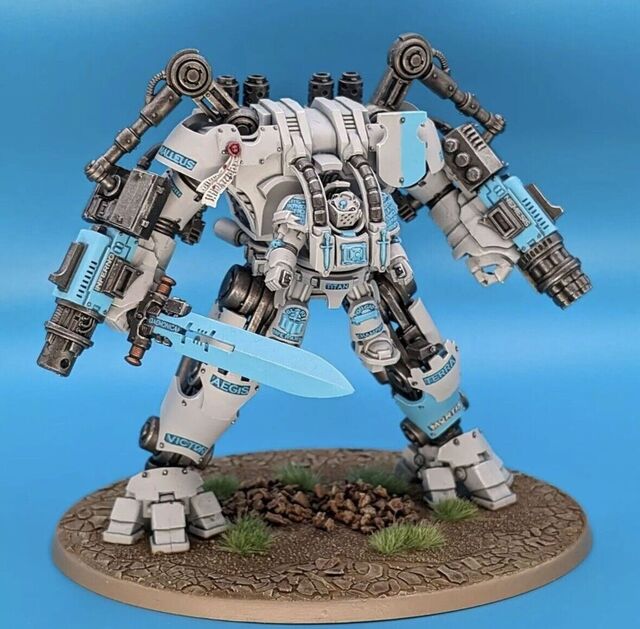
Really wanting to produce a similar scheme, every few months I’ve had a quick try at something and never been happy with the outcome. Then, a couple of weeks ago, I was just trying out the technique of using a small makeup sponge for layering up highlights quickly on an old damaged Wolf Guard terminator I use for tests and happened across an effect I liked.
With a black undercoat, heavily over-brushed Rakarth Flesh base and then sponged-on Pallid Wych Flesh with Soulblight Grey panel lining, the tones of the armour were really working for me. Then I decided to apply a wash of Frostheart into the runes and: boom! Just the effect I’d been after!
This past week I’ve started working up a quick Grey Knight terminator. I’d bought a bunch on ebay last year, already primed in Leadbelcher, so did a quick coat of Skavenblight Dinge first, then the Rakarth/Pallid/Soulblight combo on top of that.
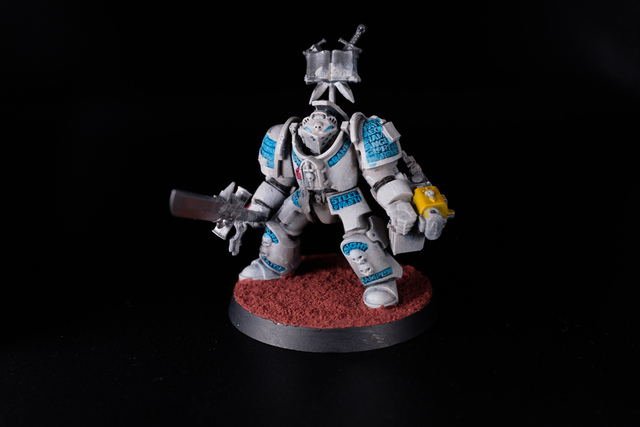
This one’s messy thanks to the rushed technique applied and the fact it’s not actually finished, but the overall colour palette is looking good. It's a cooler off-white than my reference still, but I like it. I’m sure I’ll try to create a more faithful colour match on a mini in future but this has got me enthused enough for now to at least work on finishing this model to a tabletop standard.