Mini painting
A first attempt with green stuff
I finally attempt to use ‘proper’ green stuff to sculpt a wolf pelt on a terminator and it goes… OK.
I’ve dabbled a few times with using liquid green stuff (either the Citadel stuff in a pot or, more recently, the squeezy tube from Green Stuff World). I had steered clear of the proper mix-it-yourself solid stuff though, mostly through imagining it to be pretty messy and quite a faff to get going.
It turns out it’s pretty easy to get going, not really that messy, but it is a bit of a faff in that there are definitely techniques I need to learn to really get this stuff right.
Which is totally fine: any new skill takes some learning.
What is green stuff?
Entering the hobby, you may start to notice people (like me, here!) mentioning ‘green stuff’. Green stuff is a generic term used for the two-part epoxy putty that’s used to fill in gaps in models and even sculpt new parts.
As mentioned above, there’s also ‘liquid green stuff’. As the name suggests, this is a liquid (or sometimes more paste-like) form of putty that’s easier for getting into tiny gaps but bad for sculpting.
How do you use it?
Green stuff comes in two parts (usually yellow and blue, hence the green when mixed) that you mix together to form a mouldable putty. It’s not much more complicated than that, besides tips like keeping your fingers/tools wet with water to avoid the putty sticking to them.
Attempting a wolf pelt
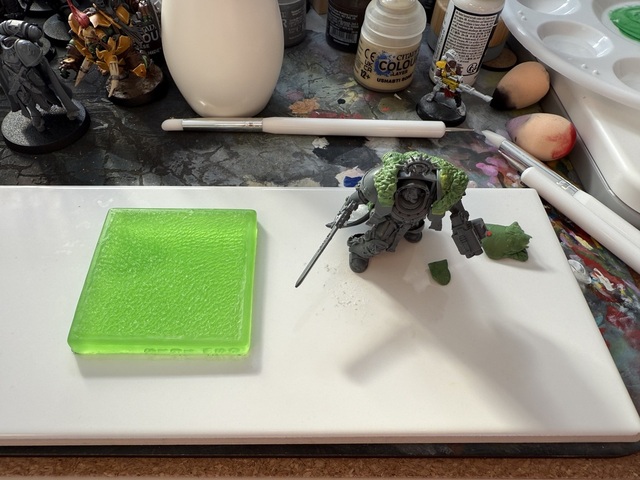
Having avoided green stuff for quite a while despite having some sitting in a drawer, I finally also ordered a texture plate from Green Stuff World (GSW). Then I avoided that too for a couple of weeks until I eventually had the time and enthusiasm to give it all a go.
Some inspiration

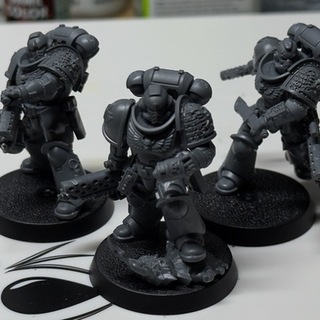
After seeing a terminator librarian made much more wolf-like by modasshoe on Reddit a while ago, I had kept a lookout on ebay for a second cheap copy of the model (I had already built and primed my copy from the Leviathan box). Along the way, I also ended up acquiring a couple more copies of the Terminator Captain from the same set.
It’s the Terminator Captain that I ended up trying first — mainly because the day I got enthused to try something, I had a copy bought cheap on ebay that was already built.
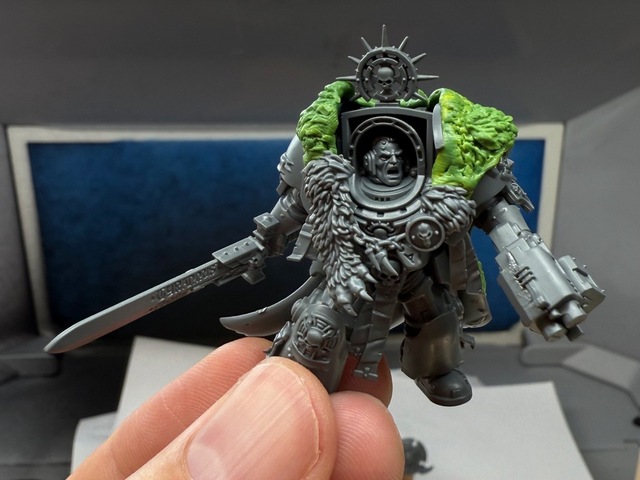
At a first pass, I had found how difficult it is to transfer a nice textured bit of green stuff from the texture plate to the model, without squashing details flat or — even worse — embedding fingerprints. I used the front piece of pelt ornamentation from the new battle leader mini to finish the detail across the chest, which worked pretty nicely.
Rather than remove it all to try again though, I just tried tidying areas up or covering with extra sections of fur.
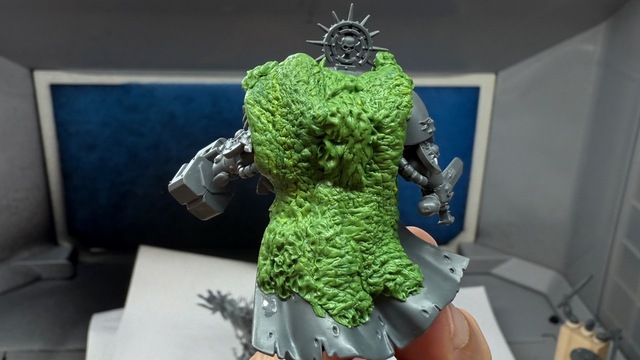
Much of the fur down the back of the mini had lost detail, which I kind of knew at the time but carried on in hope. Once I started painting however, I realised it really would have been worth the hassle of removing the mushed details and starting fresh as it was so hard to pick out a fur effect with the paint.
The front shoulder details came up nicely though, where I’d added some replacement green stuff moulding.
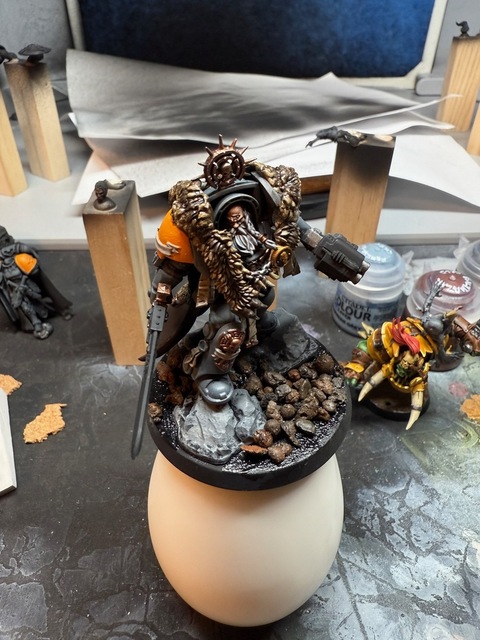
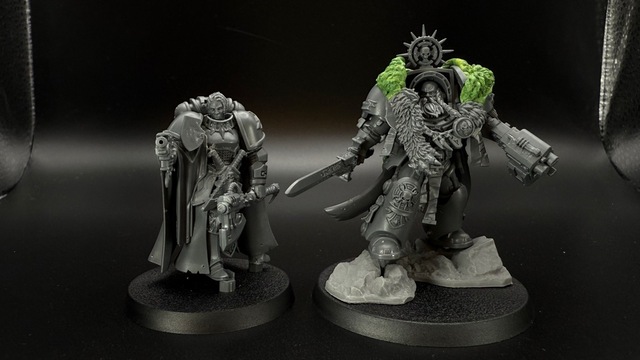
At that point, I also decided to remove the standard captain head for a proper Space Wolves one: again pilfering from the new army set to take one of the Wolf Priest head options.
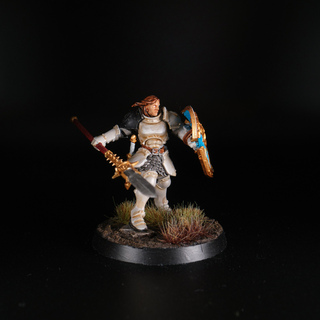
I didn’t want my new character on the same old sculpted base from Leviathan, so I arranged a couple of resin rocks that he could balance on and shot a quick test photo of my slightly-more-epic-looking Terminator captain alongside another recent kitbash: my female Space Wolf.
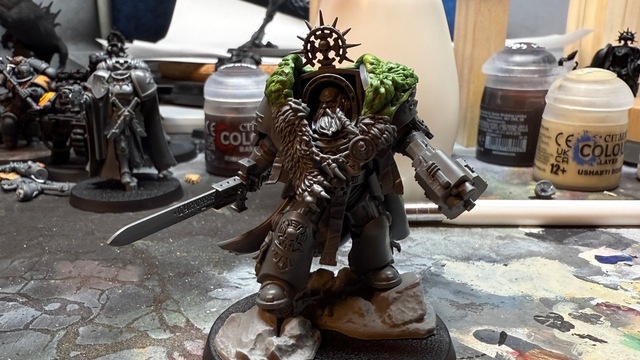
I made some good quick progress painting this guy up, but time ran out before I left for a family holiday so work on this had to pause.
I’ll write that up once he’s fully finished but for now, a work-in-progress image to end: